Are GFCI Outlets Required in Older Homes?

Ground Fault Circuit Interrupter (GFCI) outlets are designed to prevent electrical shock by quickly shutting off power when an electrical fault is detected. These outlets are an essential safety feature in modern homes, but what about older homes? Do older homes need GFCI outlets? Sometimes the solution isn’t really obvious and depends on a number of factors.
First, it’s important to understand what constitutes an older home. In the United States, homes built before the 1970s typically do not have GFCI outlets. This is because the National Electrical Code (NEC) did not require them until 1971 for outdoor receptacles, and not until 1975 for bathroom receptacles. However, even homes built after the 1970s may not have GFCI outlets installed in all the required locations, depending on when updates or renovations were done.
The NEC is updated regularly to reflect new safety standards and technology advancements. In 1999, the NEC updated the requirements for GFCI outlets, stating that all receptacles in bathrooms, garages, unfinished basements and outdoor areas should be protected by GFCI outlets. Additionally, all kitchen countertop outlets within six feet of a sink must be protected by GFCI outlets.
So, why are GFCI outlets so important? They protect against electrical shock by sensing imbalances in electrical current and quickly shutting off power to the outlet. This can prevent electrocution, which can be fatal, especially in wet or damp environments. For example, a bathroom with an electrical outlet near a bathtub or shower can pose a serious electrical hazard without a GFCI outlet. Similarly, outdoor outlets used for power tools or other equipment can be dangerous without GFCI protection.
Replacing old outlets with GFCI outlets will not just save you from inconvenience but also protect you and your family from hazards. But how do you do it? Here are some steps you can take to install the device properly:
Before you begin, make sure to turn off the power to the circuit that you will be working on. You can do this by turning off the circuit breaker or removing the fuse for that circuit.
Step 1: Remove the Old Outlet
Start by removing the old outlet. Use a screwdriver to remove the screws that hold the outlet in place, and gently pull the outlet out of the electrical box. Take note of how the wires are connected to the outlet, and label them to ensure that you can reconnect them correctly later.
Step 2: Install the GFCI Outlet
Once the old outlet is removed, it’s time to install the GFCI outlet. Start by connecting the wires to the new outlet. GFCI outlets typically have four connection points, including two brass-colored screws, a green screw, and a silver-colored screw.
Connect the black wire to the brass screw on the side of the outlet labeled “line” and the white wire to the silver screw on the same side. If you have a ground wire, connect it to the green screw.
Step 3: Test the GFCI Outlet
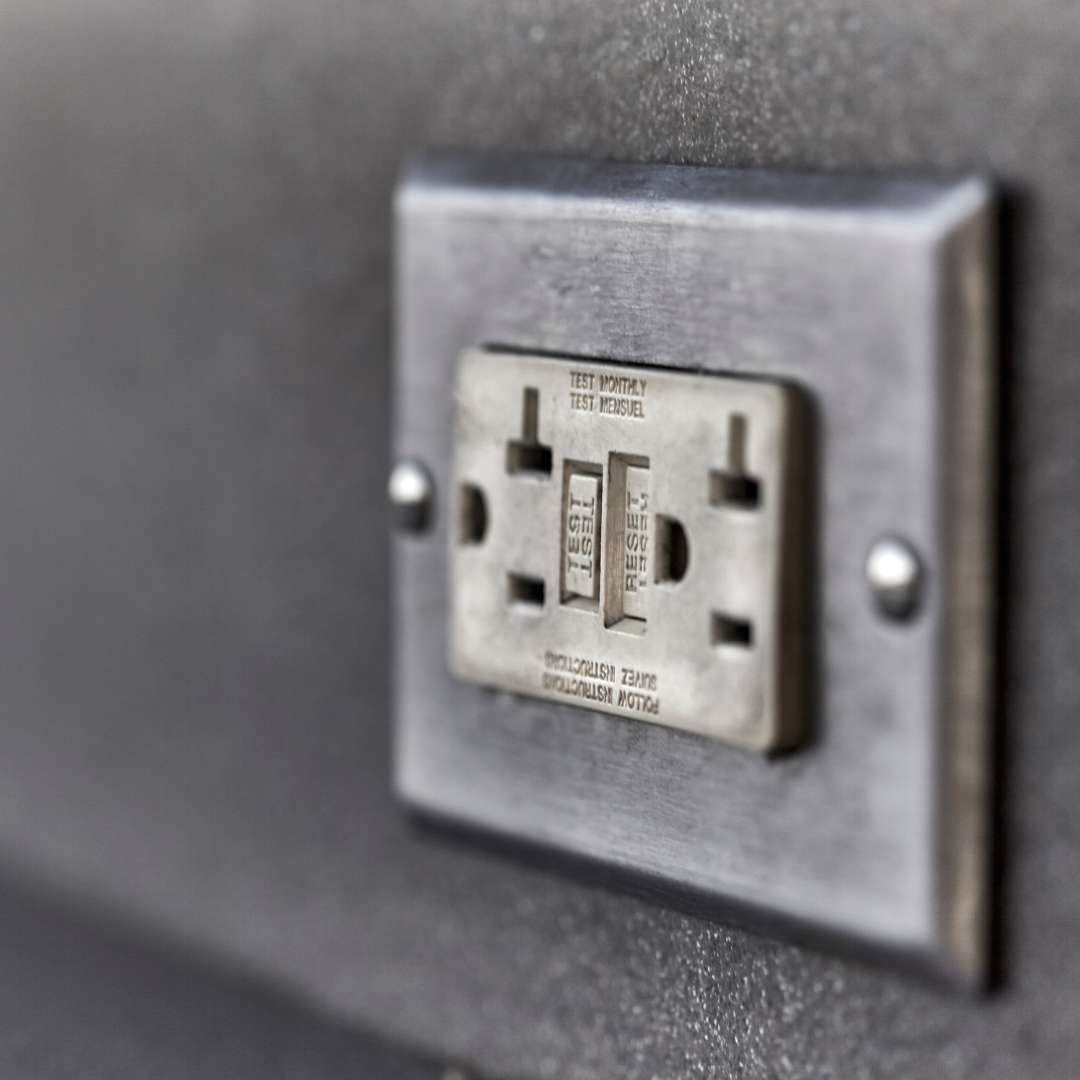
Once the GFCI outlet is installed, test it to make sure it’s working correctly. Turn on the power to the circuit, and press the “test” button on the GFCI outlet. If the outlet is working correctly, it should trip, and power to the outlet should be shut off. To restore power, press the “reset” button.
Step 4: Reinstall the Outlet
Once you’re satisfied that the GFCI outlet is working correctly, reinstall the outlet. Secure it in place with screws, and test it again to make sure everything is working as it should.
If after doing all these things, the device is still not working, it’s time to contact Linc Electric professional electricians who will solve this problem for you.


